Keeping your kitchen counters free from clutter can completely transform the look and feel of your cooking space. A clean, organized kitchen not only looks more inviting but also makes meal preparation easier and more enjoyable. In this post, we’ll share practical steps to help you achieve clutter-free kitchen counters and maintain them with minimal effort.
Why Keep Kitchen Counters Clutter-Free?
Cluttered countertops can make even the most beautiful kitchen feel chaotic. When surfaces are covered with unused appliances, utensils, and miscellaneous items, it’s harder to find what you need and keeps the cooking process from flowing smoothly. Clear counters provide more workspace, reduce stress, and can even help with kitchen hygiene by making it easier to clean surfaces.
Step 1: Clear Everything Off
Before organizing, start by clearing everything off your counters. This gives you a fresh view of your available workspace and allows you to assess what truly belongs on the counters.
– Remove all appliances, utensils, and decor items.
– Wipe down the entire surface with a gentle cleaning spray.
– Sort the items you removed into categories: daily use, occasional use, and rarely or never used.
Step 2: Declutter and Prioritize
Not everything needs to stay on your counters. Consider how often you use each item and what makes sense to have within arm’s reach.
– Keep only essential items: Think of coffee makers, toaster, or utensils used daily.
– Store away rarely used items: Appliances like blenders or slow cookers can live in cabinets.
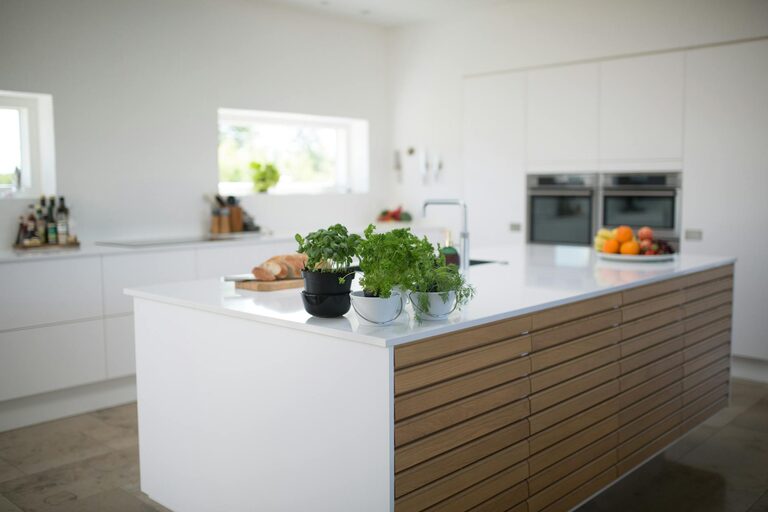
– Limit decorative items: A small plant or fruit bowl can add charm without crowding.
Step 3: Optimize Storage Solutions
Good storage can make a big difference in maintaining clutter-free counters.
Use Vertical Space
Install shelves or hanging racks for mugs, pots, or utensils. This keeps items off the counters and adds storage without taking up extra footprint.
Utilize Drawer Organizers
Keep utensils and small kitchen tools neatly arranged inside drawers instead of leaving them on counters.
Invest in Multi-Functional Containers
Use containers that can store multiple items, such as a utensil holder combined with recipe cards or a cutting board stand.
Step 4: Create Designated Zones
Organizing your kitchen into zones based on function helps reduce clutter and improve efficiency. Common zones include:
– Prep Zone: Where you chop and mix ingredients; keep frequently used knives and cutting boards nearby.
– Cooking Zone: Near the stove, with pots, pans, and cooking utensils within reach.
– Cleaning Zone: Around the sink area, keep soap, sponges, and dish towels organized.
Having clear zones helps you only keep related items in one spot, which prevents clutter from spreading across counters.
Step 5: Establish a Daily Tidy Routine
Maintaining clutter-free counters is easier with a simple daily habit.
– After cooking or preparing food, put away all appliances and utensils.
– Wipe down surfaces to keep them clean and inviting.
– Avoid placing mail, keys, or other non-kitchen items on counters—create a separate spot for these elsewhere.
Bonus Tips for a Clean Countertop
– Choose appliances that match your kitchen style to create a cohesive look even when a few items stay out.
– Use a charging station in a drawer or a corner to keep phones and tablets off counters.
– Label storage baskets or containers to make it easier to put things back in their proper place.
Final Thoughts
A clutter-free kitchen counter is achievable with thoughtful planning and consistent habits. Clear your counters, keep only what you truly use, and organize your space with smart storage solutions to make your kitchen more functional and welcoming. With a little effort, you’ll enjoy cooking in a clean, organized environment every day.
—
By following these steps, you can turn your busy kitchen into a clutter-free haven that’s both beautiful and practical. Happy organizing!